A well-chosen and precisely applied foundation is the basis of every flawless look. To achieve this perfect finish, it is important to follow a few key rules that ensure a natural and long-lasting result.
In the previous article, we examined in detail the most important steps when purchasing foundation. Understanding your skin type and undertone, choosing the right coverage, and finding the perfect shade are key aspects that you need to master in order to make an informed and accurate choice. However, applying the product correctly on your face is just as important as choosing the right one.
Are you ready to master the art of creating a flawless and long-lasting look?
Start with Skin Preparation
The perfect application of foundation begins with proper skin preparation. This is where the first step lies: thoroughly cleanse your skin with a suitable cleansing product to remove accumulated impurities and excess sebum.
The next step in preparation is applying a moisturizer tailored to your skin type. If your skin is oily, use a mattifying cream, and if it’s dry, opt for a hydrating one.
Tip: Use a moisturizer with SPF to protect your skin from the harmful effects of UV rays.
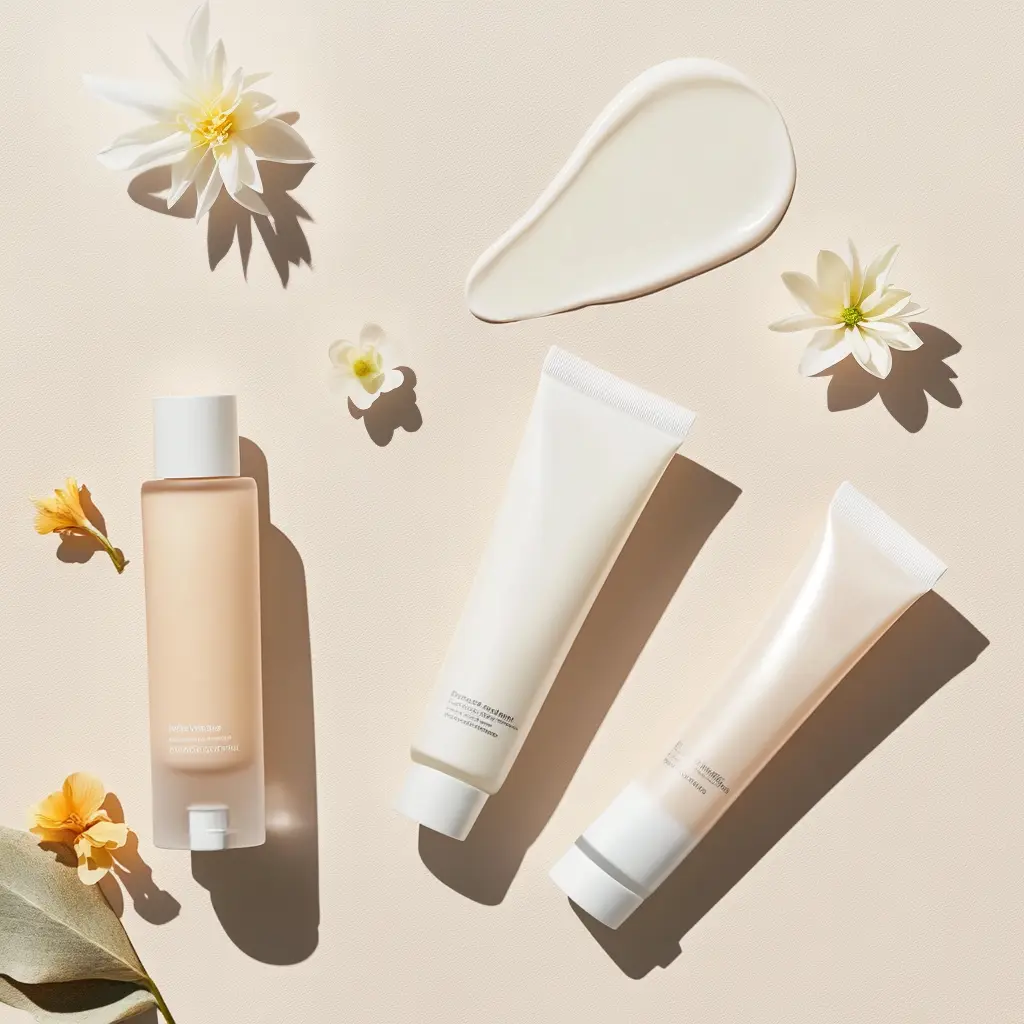
Finish the preparation with a primer that not only smooths the texture of your skin but also helps the foundation stay in place throughout the day. This step is essential for a natural and long-lasting look.
Proper preparation, tailored to the individual needs of your skin, plays a key role in achieving a flawless and long-lasting makeup finish.
How to choose the best application tool?
The main methods for applying foundation are:
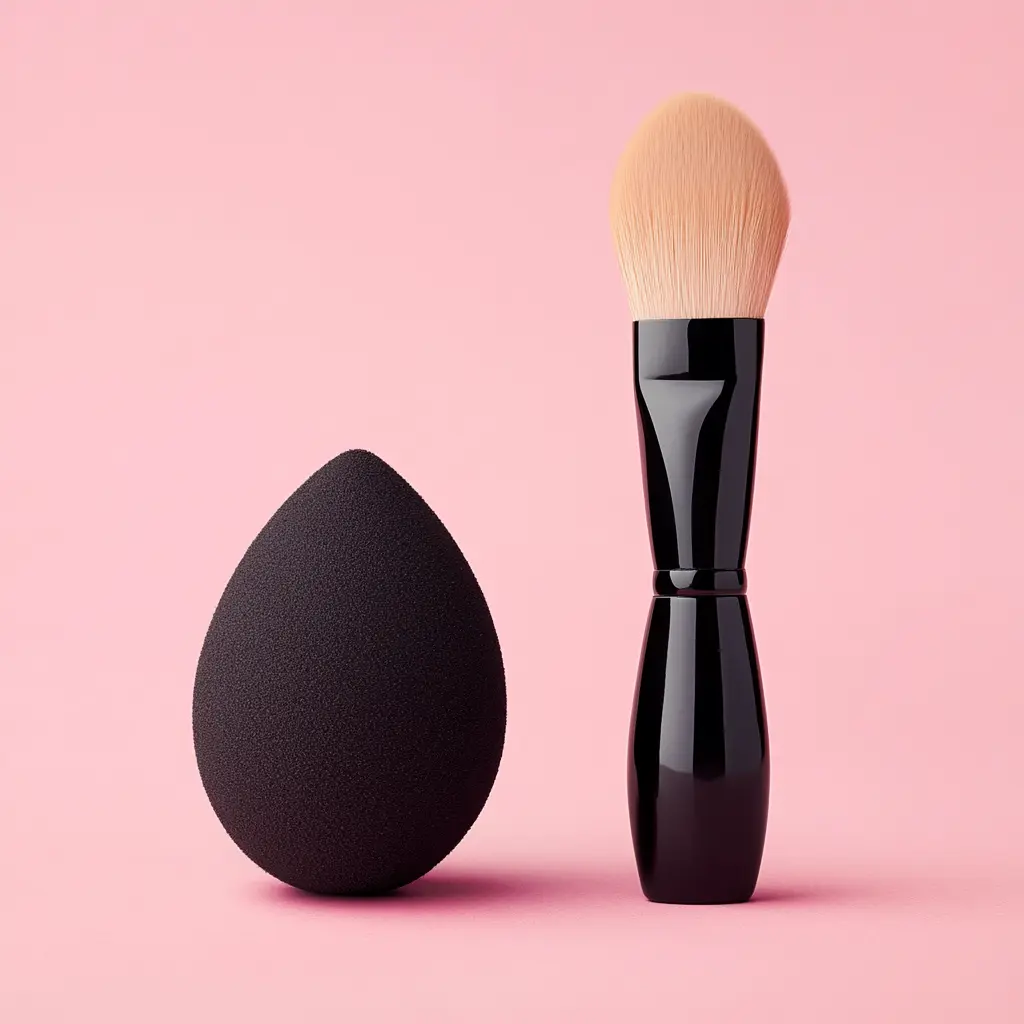
- Beauty Blender
- Foundation Brush
- Fingers
Each of these methods has its advantages and can contribute to different finishes.
The Beauty Blender is a tool favored by many professional makeup artists and enthusiasts thanks to its ability to create a natural, flawless, and fresh look. When used correctly, it ensures even distribution of the product on the skin. It comes in various sizes and shapes for more precise application on different areas of the face. It is particularly suitable for daily looks or for achieving a “no makeup” effect, where the foundation appears light and naturally applied. When used damp, the product is not overly absorbed but remains on the surface, allowing for even and economical application.
Tip: You can dampen the Beauty Blender with a setting spray to help maintain a long-lasting look.
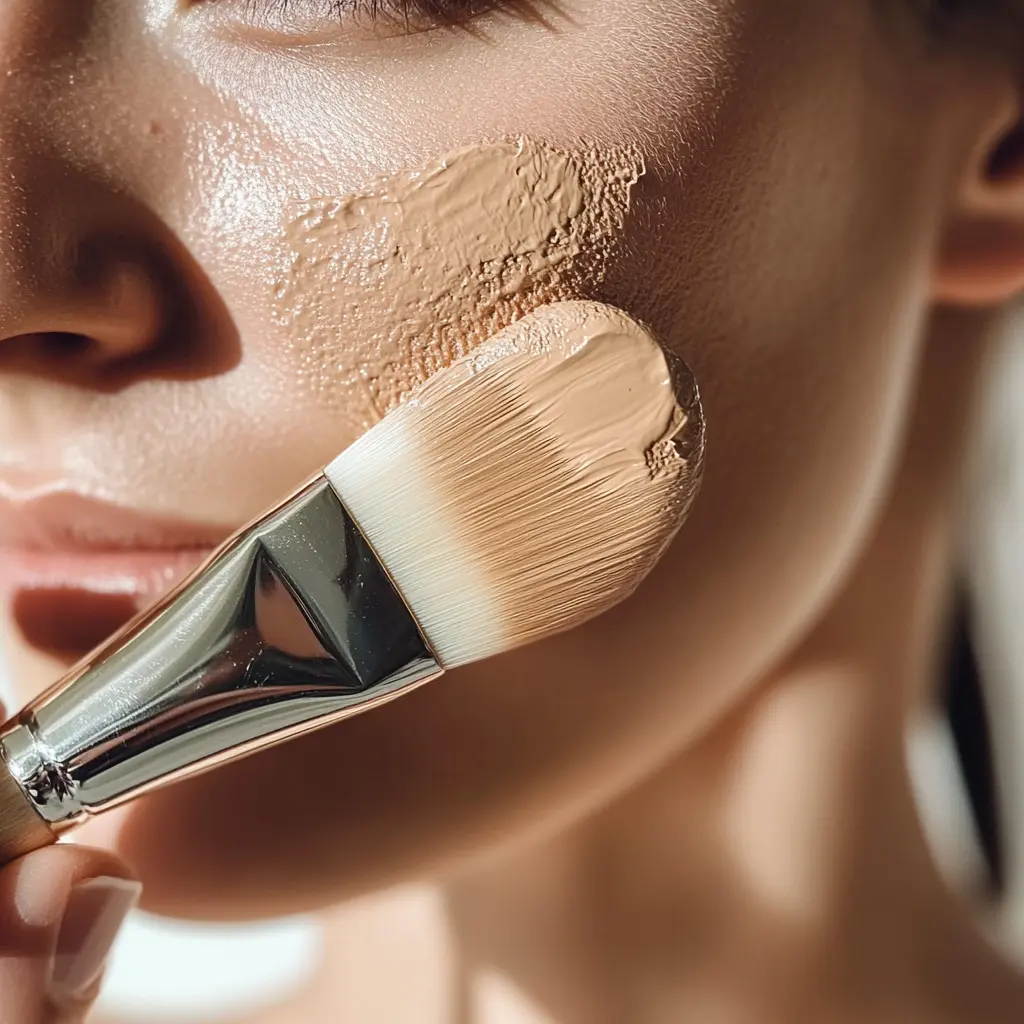
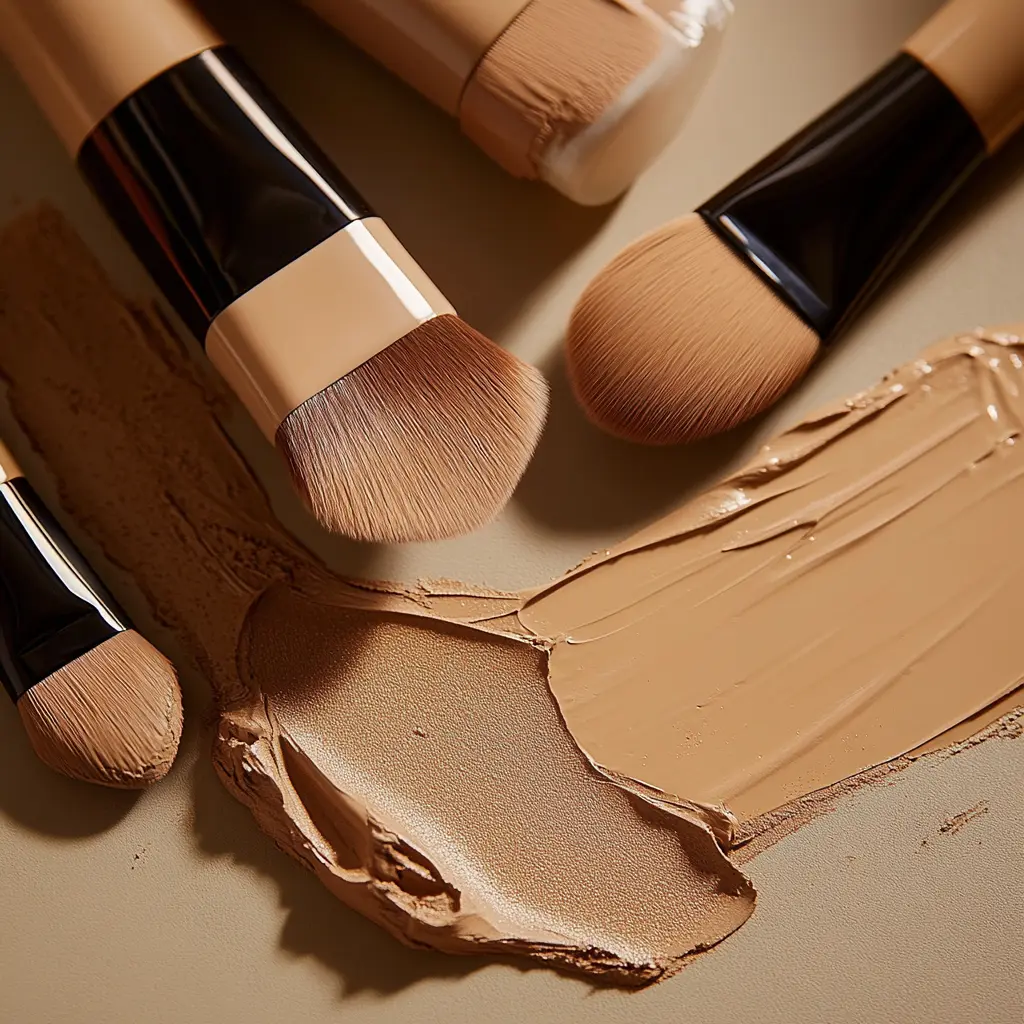
The foundation brush is ideal for makeup styles that require more control and fuller coverage, such as evening or stage makeup, but it can also be adapted for a natural, everyday finish. One of the main reasons to choose a brush is its ability to apply the product evenly, filling pores and minimizing the visibility of imperfections. Foundation brushes come in various shapes and textures – from flat to rounded. The flat brush is perfect for applying a thin layer when aiming for light coverage, while the rounded brush is suitable for blending and building higher coverage, all while ensuring a natural-looking finish. For a long-lasting and flawless result, however, it is essential to clean the brush regularly to avoid the buildup of bacteria and makeup residue.
Applying foundation with fingers is one of the easiest and most natural methods. This approach is especially suitable for daily makeup or for moments when you want a quick and natural finish. The warmth of your fingers helps to blend the product more evenly, as it “melts” into the skin, providing smooth coverage. This technique is ideal for light and liquid formulas. Fingers offer better control and a tactile feel during application, making it easier to smooth out hard-to-reach areas such as around the nose, under the eyes, and near the lips.
How to apply foundation correctly?
After learning how to properly prepare your skin and choose the right tools for application, are you ready to move on to the most essential part? For your skin to look natural and flawless, it’s important to follow the correct technique and use suitable tools. Proper application involves the following steps:
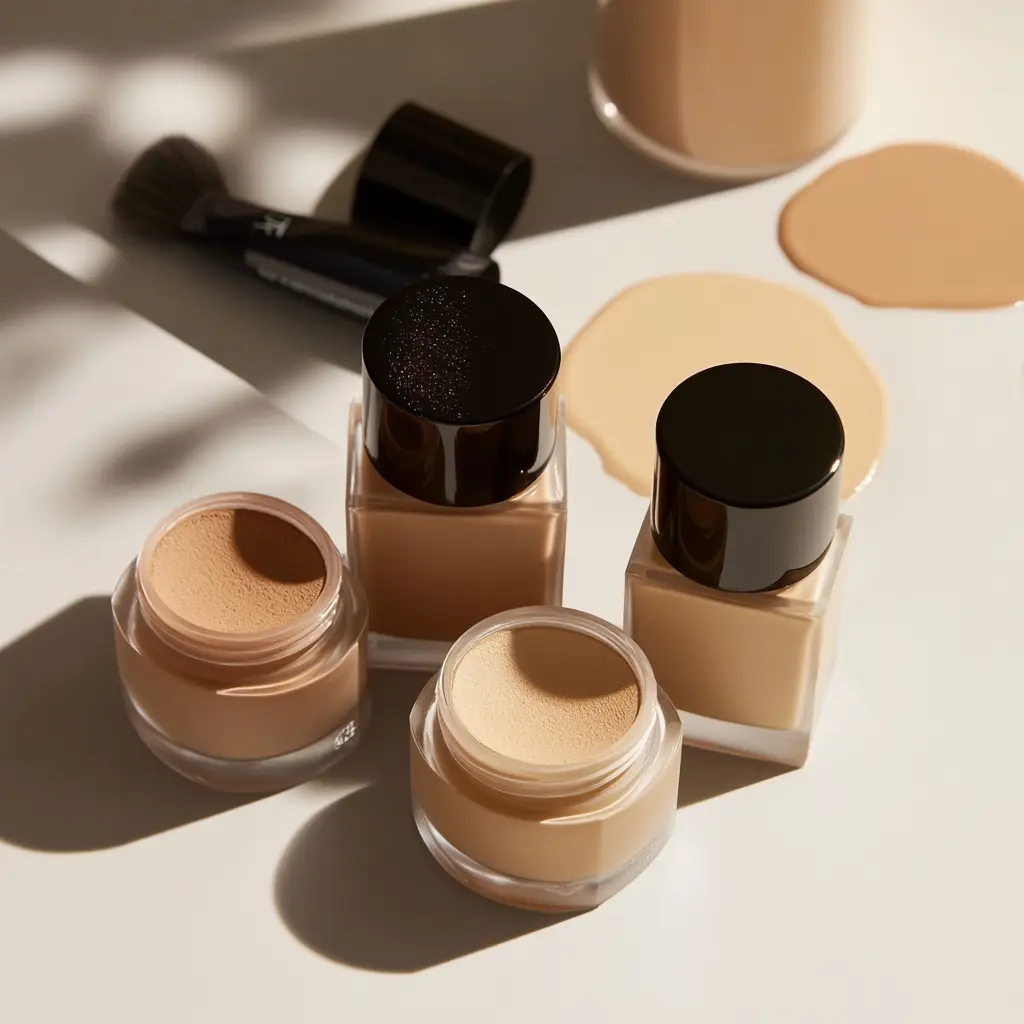
- Choose the Right Amount
Squeeze a small amount of foundation onto your hand or a palette. Start with less and add more only if necessary.
- Apply to Your Face
Dot the foundation across your face – forehead, cheeks, nose, and chin. Avoid using too much product to prevent a mask-like effect.
- Blend
Depending on your preferred tool (sponge, brush, or fingers), begin blending the product:
- With a sponge (Beauty Blender): Dampen the sponge, then use gentle tapping motions to blend the product from the center of the face (nose, forehead, cheeks) outward. This ensures even coverage and a natural finish.
- With a brush: Use circular or linear motions to spread the foundation evenly. Again, start at the center of the face and move outward for the most balanced application.
- With fingers: Apply by gently rubbing or tapping the product into your skin, always moving from the center of the face toward the edges.
- Add Final Touches
You can contour your face, add blush, or highlight depending on your preferences to enhance your look.
- Set the Makeup
For a longer-lasting result, set your makeup with a light layer of powder or a setting spray to keep your foundation fresh throughout the day.
By following these steps, you’ll achieve a polished and natural look that lasts!
Foundation is the cornerstone of every flawless look. Achieving a perfect finish requires not only selecting the right product but also mastering the proper application technique. From preparing your skin and choosing the appropriate tool to careful blending and setting, each step plays a vital role in creating an even, natural, and long-lasting result.
Remember: The perfect foundation should not conceal your individuality but rather enhance it. Experiment, discover what works best for you, and enjoy the process!